Objective
Interact with Memcached using the libMemcached library in C++.
Tools
Ubuntu 14.04
Refer to this post to install a virtual machine running Ubuntu.
Docker
Refer to the instructions for Docker CE.
Memcached
Refer to this post to run Memcached in a container.
JRE
Needed to run Eclipse. The default JRE in Ubuntu 14 is version 7. For Eclipse 2018 to work, we need JRE8. Follow these instructions to install JRE8.
sudo add-apt-repository ppa:webupd8team/java
sudo apt-get install oracle-java8-installer
g++
Run the following command
sudo apt-get install g++
Eclipse
Download the Eclipse IDE for C/C++ Developers. Extract the archive.
libMemcached
Install the shared library
sudo apt install libmemcached10
This command installs the following files under /usr/lib/x86_64-linux-gnu
- libmemcached.so.10 (link to other file)
- libmemcached.so.10.0.0
Install the development files (including headers)
sudo apt install libmemcached-dev
This command installs header files in subfolders of /usr/include
- libmemcached
- libmemcached-1.0
- libmemcachedprotocol-0.0
- libmemcachedutil-1.0
Steps
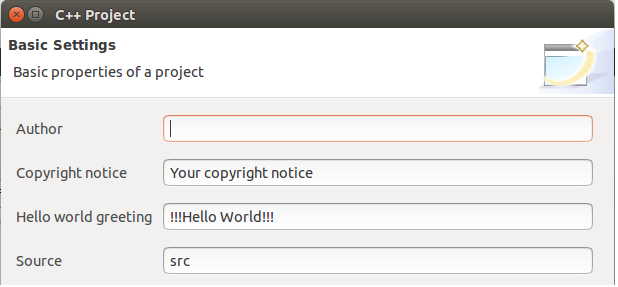
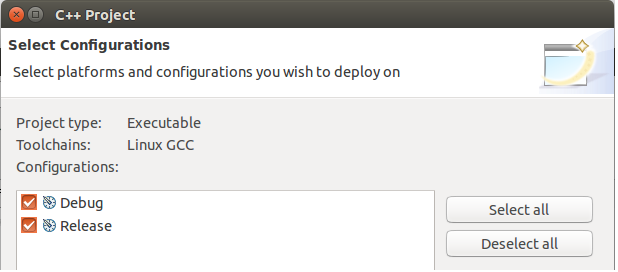
Open Eclipse and create a new C++ project.

For convenience, select a “Hello World” project.
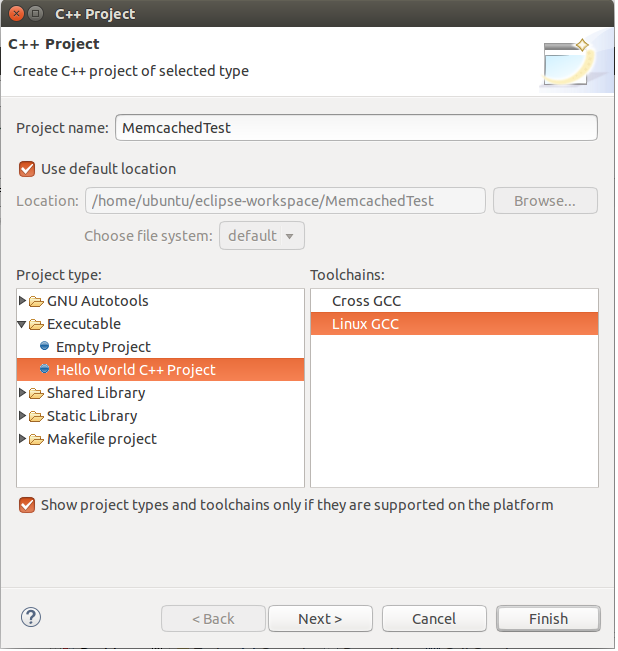
Keep the default settings in the following screens
Compile the Hello World project to ensure no issues with the build tools.
Enter the following code
#include <iostream>
#include <libmemcached/memcached.h>
using namespace std;

int main() {

    // Connect
    const char *config_string= "--SERVER=localhost";
    memcached_st *memc = memcached(config_string, strlen(config_string));

    // Add value
    const char *key = "mykey";
    const char *value = "myvalue";

    memcached_return_t rc = memcached_set(memc, key, strlen(key),
                                         value, strlen(value),
                                         (time_t)0, (uint32_t)0);

    if (rc == MEMCACHED_SUCCESS)
        cout << "Value added successfully\n";
    else
        cout << "Error adding value\n";

    // Retrieve value
    memcached_return error;
    uint32_t flags;
    size_t return_value_length;

    const char *response = memcached_get(memc, key, strlen (key),
                                          &return_value_length,
                                          &flags, &error);
    cout << response;

    memcached_free(memc);

    return 0;
}
This code is based on examples from the following sites
- http://docs.libmemcached.org/libmemcached.html
- http://docs.libmemcached.org/libmemcached_examples.html
- https://stackoverflow.com/questions/10842909/using-memcached-get-in-libmemcached-without-value-length
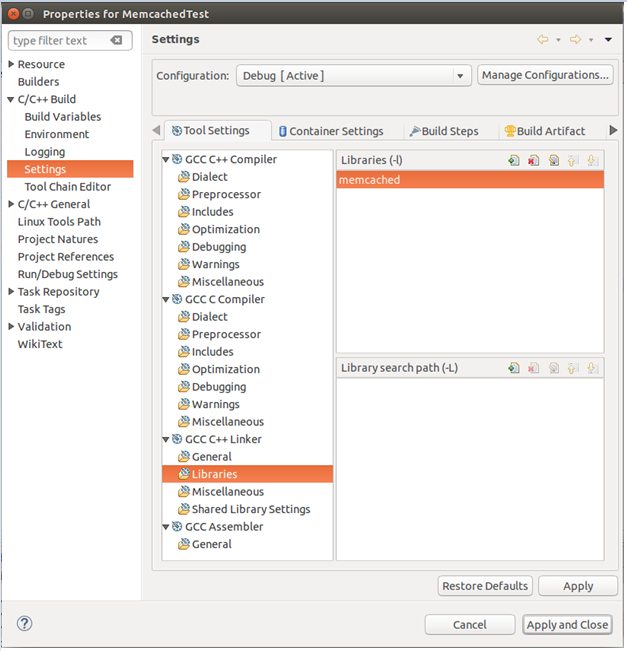
Change the build settings to include the libmemcached library (the “lib” prefix is implied).
Make sure the Memcached server is running. Refer to the Docker commands in this post
sudo docker run --name my-memcache -p 11211:11211 -d memcached
Run the program. The output will be
Value added successfully
myvalue
As an additional test, try to stop the Memcached container
sudo docker stop my-memcache
Run the program again. This time the output will be, as expected
Error adding value
Update
I observed errors on certain systems. The error returned in the memcached_return_t rc variable was MEMCACHED_INVALID_ARGUMENTS (= 38). The error was fixed by replacing the first two lines in the code above with the following
memcached_st *memc= memcached_create(NULL);
memcached_server_add(memc, "127.0.0.1", (in_port_t)11211);
Useful information was found here. For a list of error codes in the memcached_return_t enum, refer to return.h file of libmemcached.
Leave a Reply