Objective
Install WordPress+MariaDB in containers using Docker. In the process, we will learn about the deprecated Docker links and their replacement by networks.
Steps
1. Create the WordPress Container
Let’s start a container with the latest version of WordPress
docker run -p 80:80 -d --name wp wordpress:latest
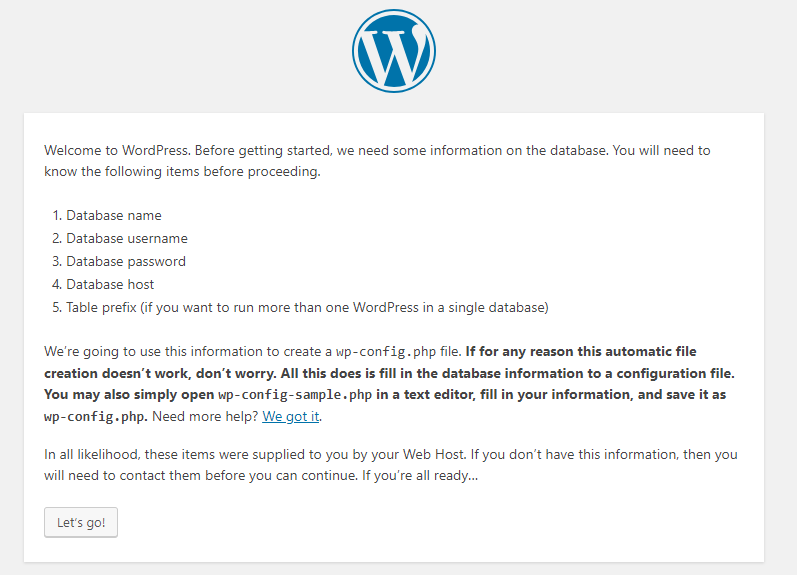
Visit localhost in a browser on the host and you’ll see the WordPress configuration page. After selecting the language, the next screen requests a connection to a database.
2. Create the Database Container
Let’s start another container with the MariaDB database
docker run -p 3306:3306 –d --name db \
–e MYSQL_ROOT_PASSWORD=”example” \
mariadb:latest
The -e flag defines an environment variable. We now need to create a database. Start a shell in the container
docker exec -it db bash
For the database setup, we’ll follow the instructions on this page. Sign into MariaDB
mysql -u root -p
Enter the password defined in the MYSQL_ROOT_PASSWORD environment variable (“example”). At the MariaDB prompt, create a database
CREATE DATABASE wordpress;
If the creation is successful, you will receive a “Query OK” message. Use the exit command to close the MariaDB console and again to close the shell within the container.
We now have a big problem. Without additional configuration, the WordPress container is not able to communicate with the database container. In the next sections, we will explore two ways to solve this problem.
3. Using Links
The legacy solution to connect two containers was the –link flag. Let’s delete the previously created WordPress container and let’s recreate it with the additional flag
docker run -p 80:80 –d --name wp \
--link db:db \
wordpress:latest
–link is followed by the name or id of a container and an alias, separated by a colon (in this case, both the container name and the alias are “db”).
Now, visit localhost again and proceed with the database configuration. For the Database Host field use the alias defined in the –link flag.
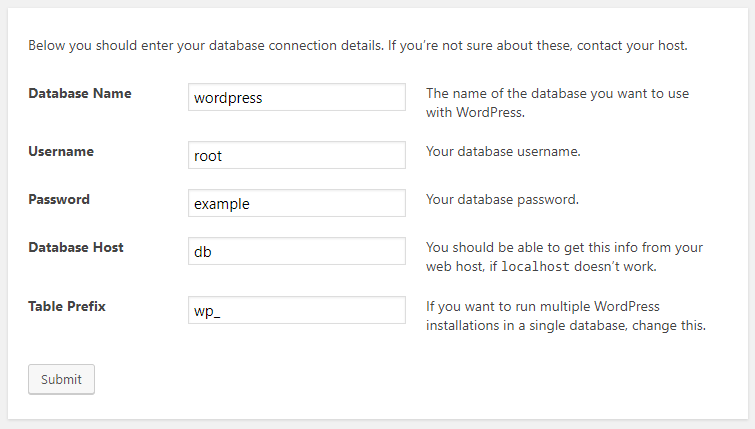
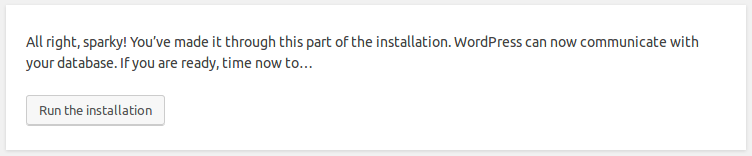
Press Submit, and you are ready to set up your WordPress site.
4. Using a Network
Instead of using links, let’s now use Docker networking. Create a new network called wpnet
docker network create wpnet
Recreate the wp and db containers using the additional –net flag. This connects the containers to the network.
docker run -p 80:80 –d --name wp \
--net wpnet \
wordpress:latest

docker run -p 3306:3306 –d --name db \
–e MYSQL_ROOT_PASSWORD=”example” \
--net wpnet \
mariadb:latest
Recreate the database inside the db container as explained in section 2. Visit localhost and enter the same information shown in section 3. For the Database Host, use the name of the database container (Docker automatically adds the reference into the WordPress container).
Useful Links
https://www.rethinkdb.com/blog/docker-networking/
Clear and concise introduction to networks to replace links.
Leave a Reply